
Table of Contents
- Why Safe Roof Moss Removal Matters
- Signs of Roof Moss Damage You Should Know
- Manual Removal vs. Chemical Treatment: Which Method Works Best
- Essential Safety Precautions and COSHH Roof Cleaning Safety
- Step-by-Step Guide to Safe Roof Moss Removal
- How to Prevent Roof Moss Regrowth
- DIY vs. Professional Roof Moss Removal: What You Need to Know
- Conclusion
Last Updated: August 26, 2026
Why Safe Roof Moss Removal Matters
Roof moss removal is one of those tasks homeowners often put off until it becomes a visible problem. By then, the moss has already begun its work beneath the surface. Moss thrives in damp conditions and traps moisture against roof tiles and shingles, accelerating deterioration of protective granules and leading to water penetration into the underlying structure.
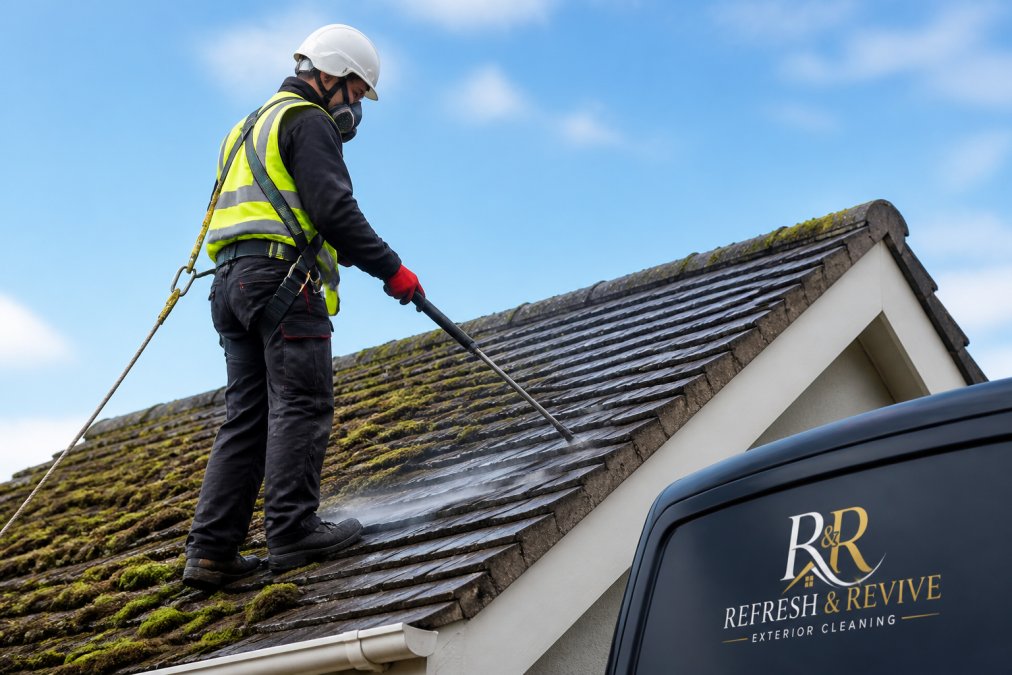
What makes roof moss removal challenging is that it requires careful balance. You need to remove organic growth without damaging the roof surface itself. High-pressure washing, commonly used for driveways, is precisely the wrong approach for roofs, it strips away protective granules, shortens roof lifespan, and creates water pathways that lead to leaks.
Safe roof moss removal protects your investment by preventing costly water damage, extending roof life, and restoring your property's appearance. The key is understanding which removal method suits your specific roof material and condition.
Signs of Roof Moss Damage You Should Know
Identifying moss damage early prevents more serious problems. Early-stage moss growth appears as green or grey patches on roof tiles or shingles, usually concentrated on north-facing slopes where moisture lingers longer. These patches expand rapidly if left untreated.
Advanced moss growth covers larger areas and creates a thick mat that traps significant moisture. You may notice water staining on fascia boards, gutters, or damp patches inside your loft space during or after rain. Lichen, a related organism that often grows alongside moss, appears as crusty, coloured patches.
Structural warning signs include sagging gutters caused by debris buildup, cracked or loose tiles where moss has penetrated beneath them, and visible water damage to soffit boards or brickwork below the roofline. Gutter blockage is a common consequence, decaying moss fragments wash into gutters and drainage points, restricting water flow and forcing water to pool on the roof surface.
Don't wait for visible structural damage. Early intervention through safe roof moss removal prevents cascading problems.
Manual Removal vs. Chemical Treatment: Which Method Works Best
The choice between manual removal and chemical treatment depends on moss coverage, roof material, and your comfort with working at height.
Manual Scraping and Cleaning
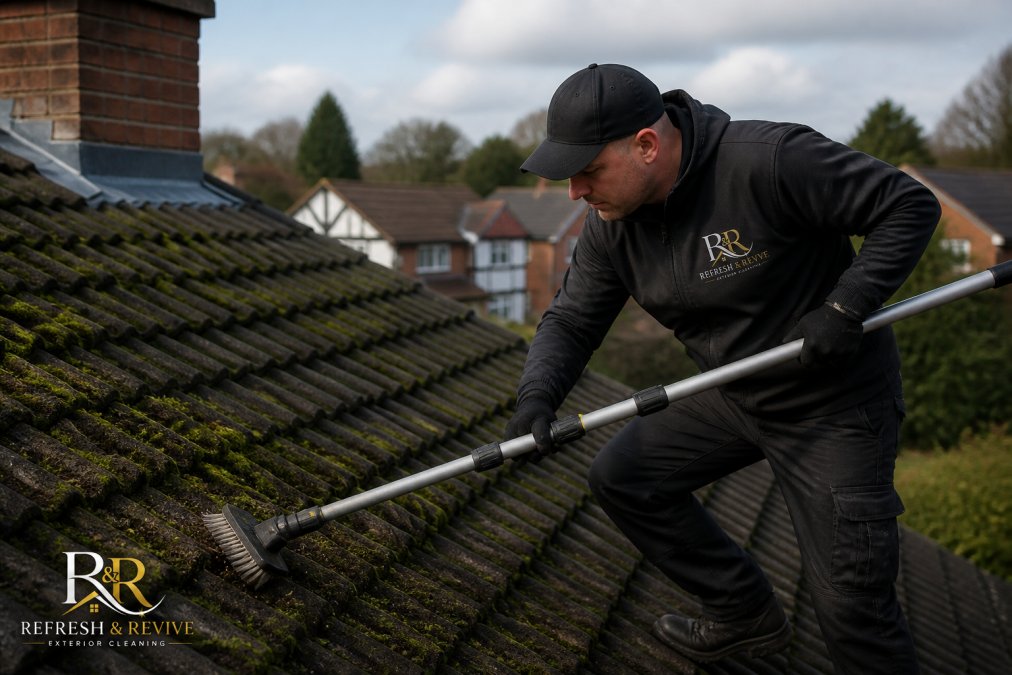
Manual removal involves physically scraping moss using soft brushes or low-pressure rinsing. This method removes visible moss immediately and allows close roof inspection as you work. It works best for light to moderate coverage on accessible roof areas, protecting protective granules on shingles or finishes on clay tiles.
The main limitation is thoroughness. Manual removal clears surface growth but may miss moss spores embedded in microscopic roof surface irregularities, meaning regrowth can occur within weeks if no preventative treatment follows. This method also requires safe access to the roof, making it best suited to single-storey buildings or sections accessible from a secure ladder position.
Chemical Treatment with Biocide or Fungicide
Chemical treatment applies a biocide or fungicide solution to kill moss and lichen at the cellular level and typically prevent regrowth for an extended period. The chemical solution requires a "dwell time", a period where it remains on the roof surface, to be effective.
Chemical treatment reaches moss spores in surface irregularities that manual removal misses and provides longer-lasting protection, often preventing regrowth for 12-24 months depending on the product and environmental conditions (peer-reviewed research). The critical requirement is following the product label and safety data sheet precisely. Different biocides and fungicides have different dwell times, application rates, and weather restrictions.
The most effective approach combines both methods. Manual removal clears visible moss, allowing you to inspect the roof surface and apply chemical treatment more effectively. Chemical treatment then kills remaining spores and provides extended protection against regrowth.
Essential Safety Precautions and COSHH Roof Cleaning Safety
Working on a roof involves multiple hazards: falls from height, slips on wet or moss-covered surfaces, and exposure to chemical products.
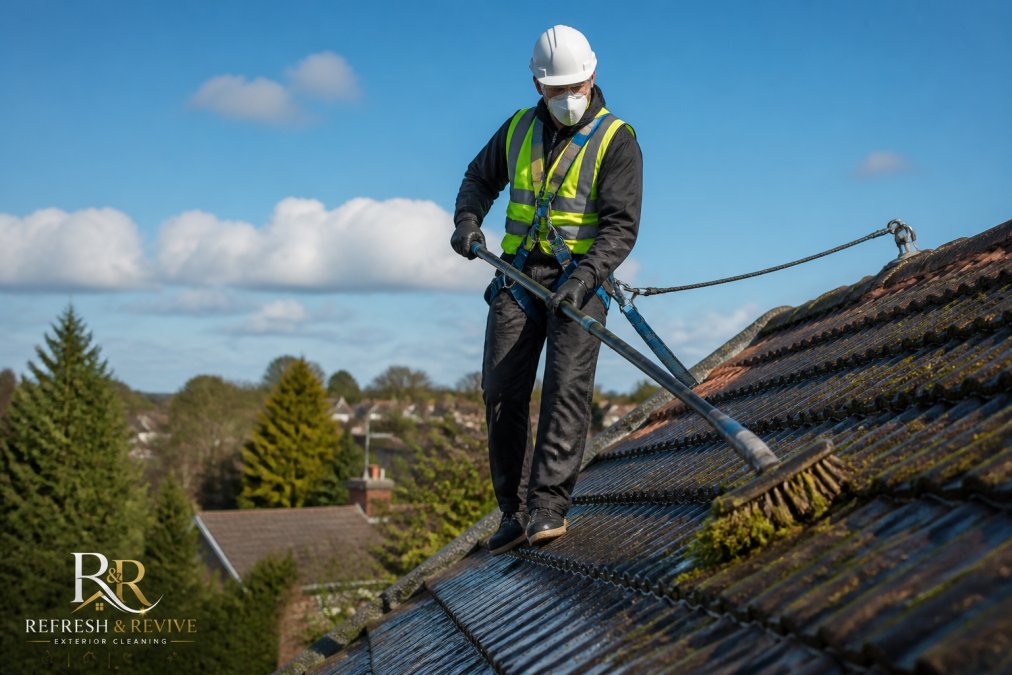
Fall protection is the primary concern. A safety harness anchored to a fixed point, such as a roof ridge or purpose-designed anchor, is non-negotiable for pitched roofs (hse.gov.uk). The harness must be properly fitted and regularly inspected. Ladders used to access the roof must be secured at the top and bottom, with at least three rungs extending above the roof edge.
Footwear and grip matter significantly. Moss-covered tiles are extremely slippery, even when wet. Specialist roof shoes with high-grip soles designed for wet conditions are essential.
Protective equipment protects against chemical exposure. If applying a biocide or fungicide, wear chemical-resistant gloves, eye protection, and a respirator mask appropriate to the product being used. The product safety data sheet specifies which protective equipment is required.
COSHH regulations require assessment of chemical risks (hse.gov.uk). Before using any cleaning product, you must understand its hazards. The safety data sheet details chemical composition, hazard classification, and required precautions. Your COSHH assessment must identify hazards and specify control measures, typically including protective equipment, measures to prevent chemical reaching skin or eyes, and safe disposal procedures.
Never mix cleaning chemicals. Combining different products can create toxic reactions. Ensure complete rinsing and drying before applying another product.
Weather conditions affect safety and effectiveness. Do not work on roofs during rain, high wind, or immediately after rain when surfaces remain slippery. Chemical treatments require specific weather conditions to work effectively.
Avoid working alone. Have another person present who can call for help if an accident occurs and can monitor your safety from ground level.
Know your limits. If your roof is steep, multi-storey, or has complex features, professional removal is safer and more effective.
Step-by-Step Guide to Safe Roof Moss Removal
This guide covers manual removal combined with chemical treatment, which delivers the most reliable results.
Step 1: Assess Your Roof and Gather Equipment
Inspect your roof from ground level using binoculars. Identify moss coverage areas, check for damaged tiles or structural issues, and assess roof pitch and access points.
Gather the equipment you'll need: secure ladder with stabiliser bar, safety harness and anchor point (for pitched roofs), soft-bristled roof brush or broom, low-pressure rinse system (garden hose with adjustable nozzle, not a pressure washer), biocide or fungicide product appropriate to your roof material, protective equipment (gloves, eye protection, respirator mask as specified by product safety data sheet), bucket for diluting product if required, cloths for cleaning gutters, and sturdy work gloves.
Check that your ladder is in good condition and your safety harness is certified and inspected within the past 12 months.
Step 2: Prepare Your Work Area and Safety Setup
Position your ladder securely against the roof edge, with the base on level, stable ground. The ladder should extend at least three rungs above the roof edge. Use a stabiliser bar to prevent the ladder sliding outward.
If using a safety harness, identify your anchor point before ascending. This must be a fixed structural element capable of supporting your weight in the event of a fall. Secure the harness lanyard to this point. Do not rely on gutters, which are not designed to support fall arrest loads.
Check the weather forecast. Do not proceed if rain is forecast within the timeframe required by your chemical treatment product. Inform someone of your plans and expected duration.
Step 3: Remove Moss Carefully Without Pressure Washing
Begin at the highest point of the roof and work downward. Use your soft-bristled brush to gently scrape moss from the roof surface. Apply moderate pressure, sufficient to remove moss but not so much that you damage tiles or shingles.
Once you've cleared the bulk of moss, use your low-pressure rinse system to remove remaining debris. Set the nozzle to a gentle spray, this is not a pressure-washing operation. Avoid directing the rinse spray upward under tiles, which can force water into the roof structure. Always rinse downward, following the natural slope of the roof.