
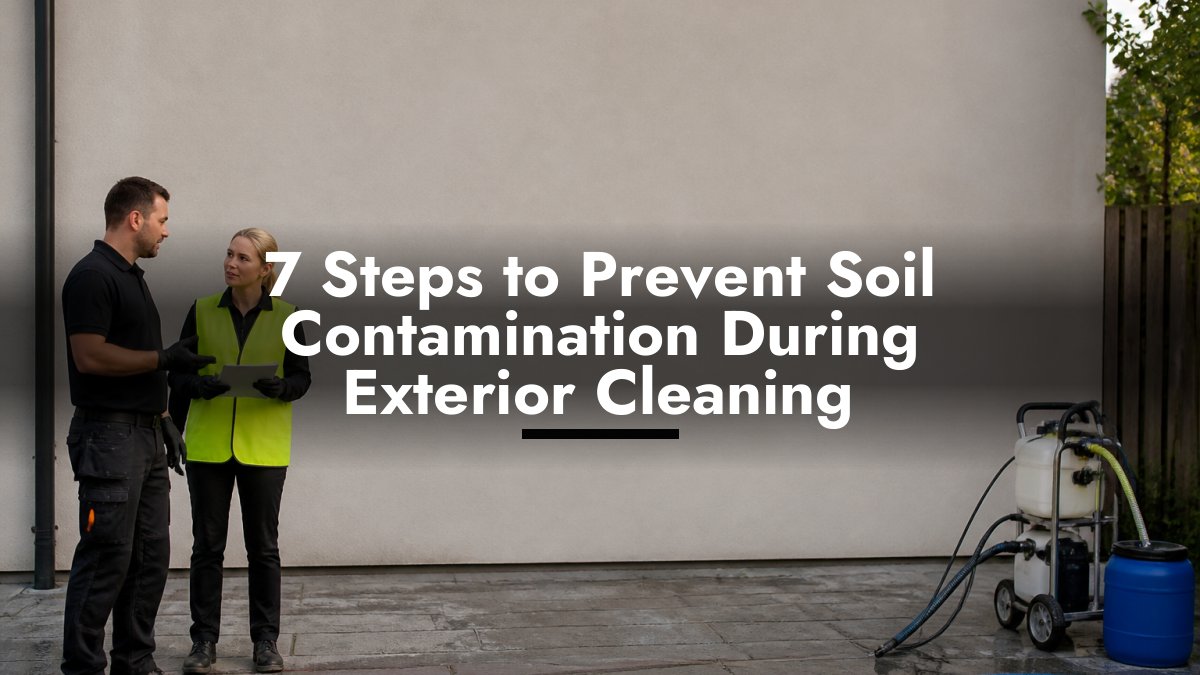
Last Updated: November 3, 2026
Quick Summary
Preventing soil contamination during exterior home cleaning means controlling where dirty water goes before you start. Cover drains and beds, bund the perimeter to steer run-off to a capture point, and filter collected water so silt and detergent never reach your borders.
- Carry out a ten-minute pre-cleaning site assessment and photograph the area before any water or chemical is used.
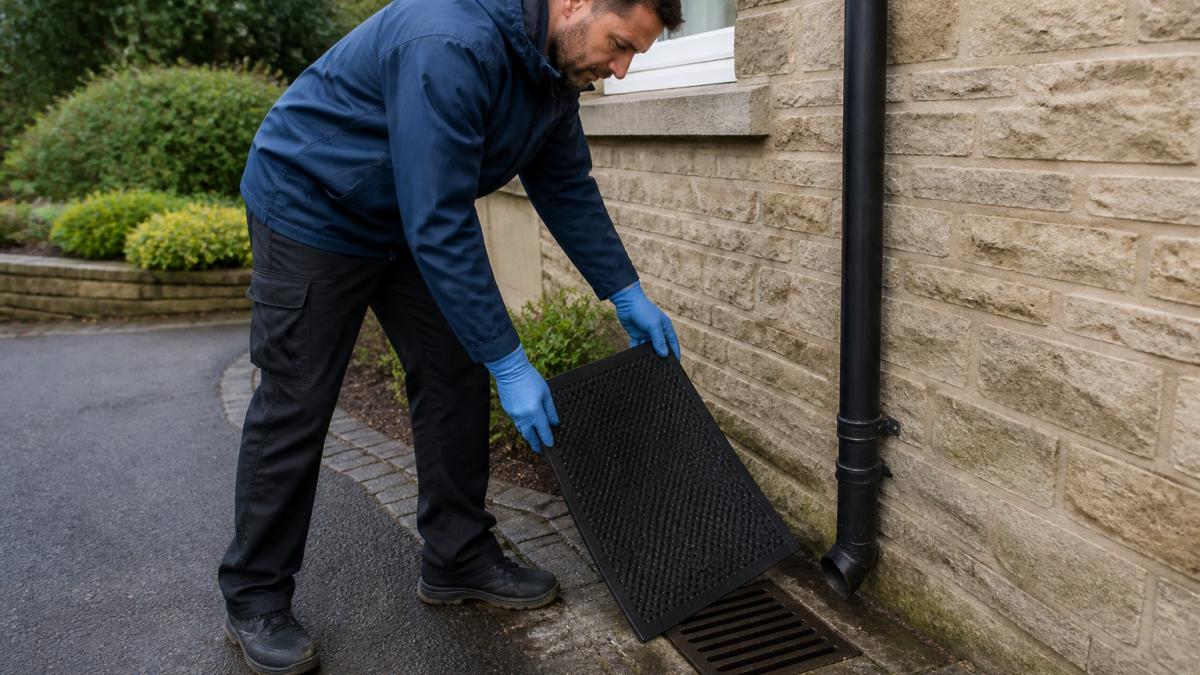
- Protect the nearest drain with a gully mat or geotextile before the first flush, which carries the heaviest silt load.
- Bund the downhill edge with soil, sand or an absorbent sausage to steer water towards your capture point.
- Water plants thoroughly beforehand, cover beds with plastic sheeting and rinse any foliage that catches spray.
- Let solids settle in a container and dispose of silt through a licensed route or as directed by your council.
Table of Contents
- How Exterior Cleaning Puts Garden Soil at Risk
- Step 1: Carry Out a Pre-Cleaning Site Assessment
- Step 2: Plan Your Exterior Cleaning Run-Off Control
- Step 3: Choose the Right Method for Each Surface
- Step 4: Protecting Plants During Exterior Cleaning
- Step 5: Pressure Washing Water Management Done Properly
- Step 6: Driveway Cleaning Wastewater Disposal and Drain Protection
- Step 7: Pick Lower-Impact Products and Handle Spills Fast
- Request a Free Quote for Soil-Safe Exterior Cleaning
- Frequently Asked Questions
How Exterior Cleaning Puts Garden Soil at Risk
Preventing soil contamination during exterior home cleaning starts with understanding one simple fact: dirty water has to go somewhere. When you wash a driveway, patio or render wall, the run-off carries moss, algae, silt, dust, rubber and detergent. Much of it ends up in your borders, lawn or drains.
Soil contamination is the build-up of those pollutants in the ground, to the point where it affects plant growth, drainage or the wider environment. In practice, most of it happens quietly over years of small washes rather than one big spill.
This guide walks through seven practical steps, from a pre-clean check to spill response, so your planting and drainage stay protected.
Step 1: Carry Out a Pre-Cleaning Site Assessment
A pre-cleaning site assessment is a short walk around the property before any water or chemical touches a surface. It records where run-off will travel, which drains sit nearby and what is growing downhill.
Do this before you fill a single bucket. It takes ten minutes and prevents most problems.
Check these points:
- Where the ground falls, and where water naturally pools
- Drain gullies, grids and any soakaway within reach
- Beds, lawns and pots within splash distance of the work
- Porous surfaces such as sandstone, render and old pointing
- Any existing stains, cracks or loose mortar worth noting first
Photograph the area before you start. If a neighbour or client later questions damage, you have a record of the condition you found.
Step 2: Plan Your Exterior Cleaning Run-Off Control
Exterior cleaning run-off control means deciding, before you start, where the dirty water will be captured or diverted. The aim is to keep silt and detergent out of soil, drains and watercourses. Most guides stop at that sentence. The useful part is the order you do things in, because containment set up in the wrong sequence leaks.
Work through these stages before the first drop of water lands.
1. Protect the drain first. Identify the nearest gully, grid or linear channel and cover it with a gully mat, geotextile or weighted sheet before any washing begins. The first flush carries the heaviest silt load, so the drain must be protected from the very first pass, not once the water starts running dirty.
2. Bund the perimeter. Create a low ridge of soil, sand or a rolled absorbent sausage along the downhill edge of the work area to steer water towards your capture point rather than into borders. On sloping drives, place the bund at the lowest corner and work downwards towards it.
3. Sheet the vulnerable ground. Lay plastic over beds, pots and lawn edges within splash distance, weight the edges and turn them up slightly so they hold rather than shed. Overlap sheets so water cannot tunnel between them.
4. Set your capture point. Decide where water will collect, a low spot, a wet vacuum intake or a pump sump, and make sure the bund directs flow there. For small domestic volumes a wet vacuum is often enough; for larger areas a pump and container work better.
5. Filter before disposal. Pass collected water through a geotextile or silt trap so solids settle out. Clean water can then be dealt with separately from the silt, which is the part that clogs drains and smothers soil.
6. Check and reset. Inspect the drain cover and bund partway through the job. A mat that has silted over stops protecting anything, and a collapsed bund sends everything the wrong way.
Watch out: setting up the capture point after you have started washing is the most common mistake, by then the dirtiest water has already gone where you did not want it.
If you would rather the containment was planned for you, speak to Refresh Revive Exterior Cleaning about your site and request a free quote.
Step 3: Choose the Right Method for Each Surface
Matching the method to the surface is the single biggest factor in reducing contaminated run-off. Gentler methods use less water, less chemical and lift less material into suspension.
Here is how we match method to surface:
| Surface | Method | Why |
|---|---|---|
| Block paving, concrete, tarmac | Rotary pressure washing with controlled flow | Lifts ingrained dirt without stripping the surface |
| Render, painted walls, K-rend | Soft washing at low pressure | Protects the coating and limits splash |
| Indian sandstone, limestone | Low-pressure wash with treatment | Avoids etching and surface loss |
| Roof tiles | Treatment-led moss removal, no high pressure | Keeps granules and tiles intact |
| Decking and timber | Low-pressure wash, surface-appropriate cleaner | Prevents splintering and fibre damage |
Pressure washing is not automatically the best answer. For a closer look at soft washing versus pressure washing, the comparison explains which surfaces suit each method. On delicate surfaces, soft washing and a treatment that does the work over time are often gentler choices.
Step 4: Protecting Plants During Exterior Cleaning
Protecting plants during exterior cleaning comes down to three things: cover, water and timing. Plants rarely suffer from a single splash. They suffer when chemical sits on leaves or soaks into roots.
Cover beds and pots with plastic sheeting before work starts. Water plants thoroughly beforehand so roots are already hydrated. Afterwards, rinse any foliage that caught spray with clean water.
Watch out for detergent drifting onto a new lawn or young shrubs. It can scorch leaves within a day or two. If you spot yellowing, browning or curled edges after a clean, check the plants closely and seek advice promptly. Knowing the signs of chemical burn on garden plants helps you spot damage early and adjust your approach.
Step 5: Pressure Washing Water Management Done Properly
Pressure washing water management means controlling both the volume and the direction of the water you use. A pressure washer can push out far more water than a drain or border can absorb.
Follow these rules:
- Work from the top of a slope downwards so dirty water flows to your capture point
- Use the lowest pressure that does the job, and a wider fan nozzle
- Stop and clear the area before silt builds up
- Never wash directly into a border, lawn edge or watercourse
- Keep the wand angled away from open ground and potted plants
On heavily soiled block paving, the first pass lifts most of the load. Let it settle, then clear it before the second pass. This one habit keeps a huge amount of fine particles out of your soil.
