
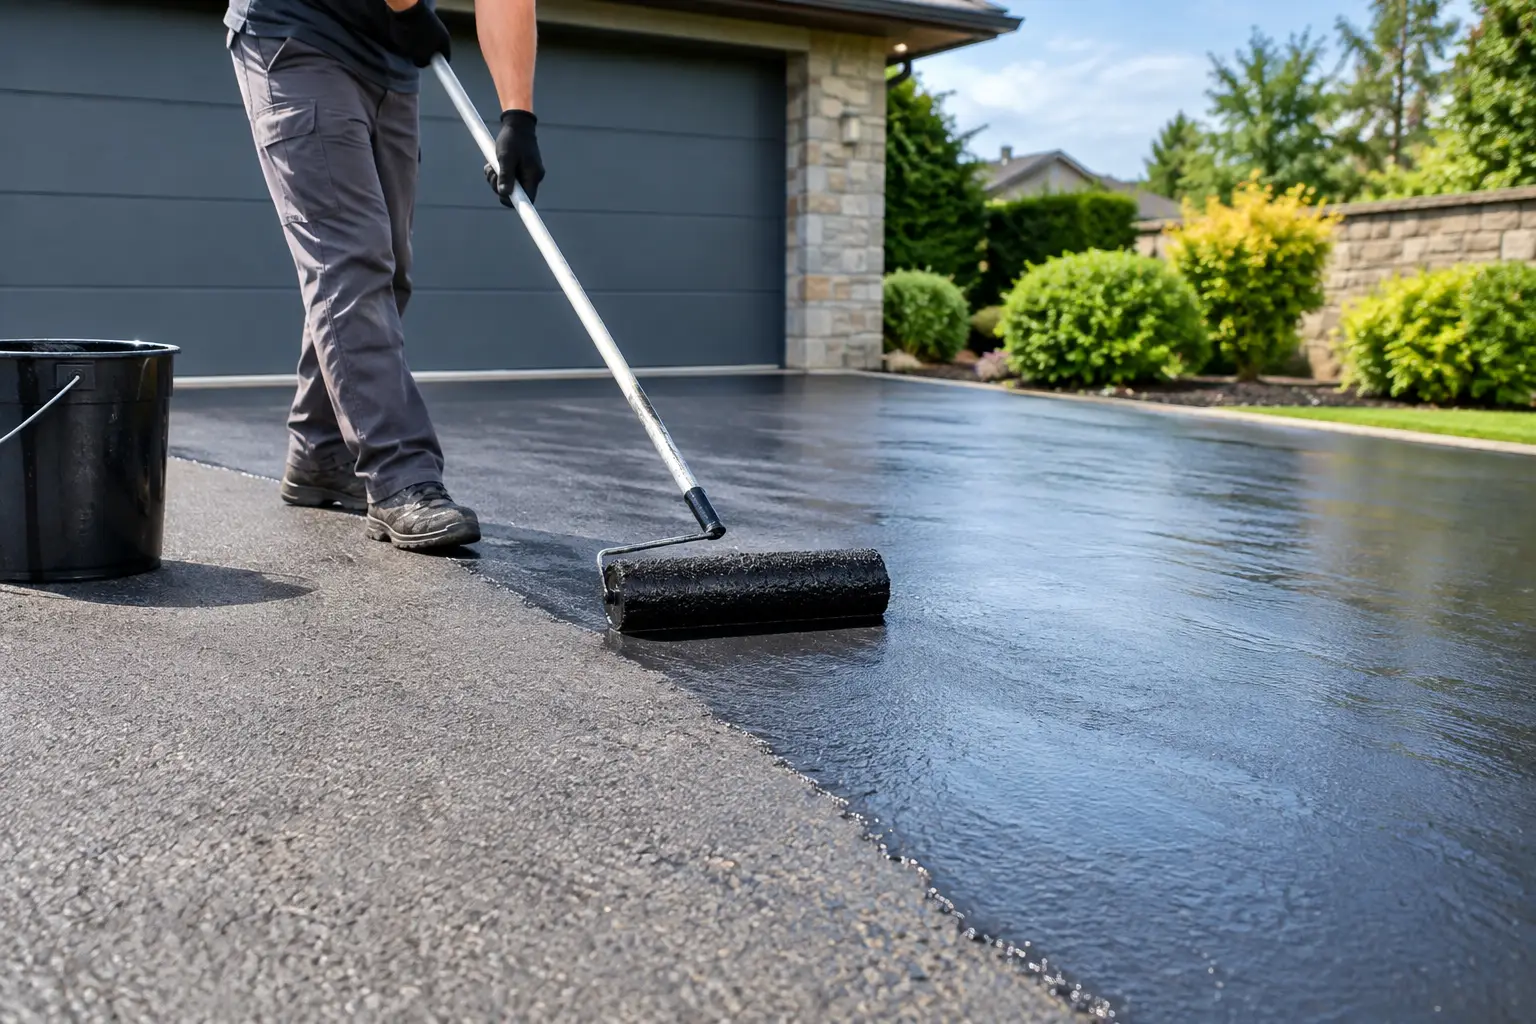
A driveway can look freshly laid after cleaning, then lose that appearance quickly if its joints are empty, its surface is still damp or the wrong sealer is applied. Knowing how to seal driveway paving starts with preparation, not the tin of sealer. On block paving in particular, cleaning, drying and joint stabilisation determine whether a sealant has a sensible chance of performing as intended.
Sealing can help reduce the rate at which dirt, staining and moisture affect suitable paving. It may also enhance the colour or leave a more natural finish, depending on the product selected. It is not, however, a cure for failed bedding, movement, deep oil contamination or worn-out blocks. The right approach depends on the paving material, its condition and how the driveway is used.
Decide whether your driveway paving should be sealed
Not every driveway needs sealing straight after cleaning. A sound block-paved drive with stable joints may benefit from it, particularly where repeated moisture, organic growth or traffic grime makes routine upkeep difficult. A sealer can also be considered after a thorough restoration and re-sand, when the objective is to support a tidier, more even-looking surface.
First identify what you have. Concrete block paving is often sealed, provided it is clean, dry and correctly re-sanded. Natural stone, clay pavers, imprinted concrete and resin-bound surfaces each need a product and process suited to that material. A sealer intended for concrete blocks is not automatically right for Indian sandstone, and a glossy finish can look out of place on some traditional paving.
It is also worth being realistic about the reason for sealing. If the driveway has loose or rocking blocks, sunken areas, failed edging or persistent oil leaks, those issues should be dealt with first. Sealant sits on or penetrates the surface; it does not rebuild the driveway beneath it.
Clean the paving before applying any sealer
A sealer can lock in whatever is left on the surface. That includes fine silt, algae, tyre marks, efflorescence, old detergent residue and traces of moss in the joints. For that reason, applying sealant to paving that merely looks clean from a distance is a common and costly mistake.
The cleaning method should reflect the surface and the contamination. Controlled pressure washing is commonly used for block paving to remove embedded dirt and clear failed jointing material. The pressure, nozzle choice and working distance matter. Excessively aggressive washing can dislodge sand, disturb weaker blocks and leave an uneven finish, while insufficient cleaning can leave a film that affects the final appearance.
Organic growth needs particular attention. Green algae, black spotting, lichen and moss can return if they are only partly removed or if shaded, damp conditions remain. A suitable treatment may be needed alongside cleaning, with the process chosen for the paving and its condition. Heavy staining may improve substantially without disappearing completely, especially where oil or rust has penetrated the material over time.
After cleaning, rinse away residues thoroughly. Drainage channels, gullies and edges should be clear so dirty water is not left to settle back onto the paving.
Let the driveway dry fully
Drying is not a cosmetic step. Moisture trapped in the surface or joints can affect adhesion, penetration and the appearance of some sealers. The required drying period varies with the paving, weather, shade, drainage and the product instructions. A driveway may appear dry at the surface while moisture remains below.
Choose a dry spell where possible and avoid sealing if rain, heavy dew or low temperatures are likely to interfere with application or curing. Do not rush the job because the surface looks cleaner than it did the day before. This is one area where patience usually produces a better result.
Re-sand block paving properly
For conventional block paving, kiln-dried jointing sand is normally brushed into clean, dry joints before sealing. This sand helps interlock the blocks and supports their stability under vehicle traffic. It also creates the base for any joint-stabilising effect offered by an appropriate sealer.
Brush the sand across the blocks in several directions so it works down into the full depth of the joints. The aim is not simply to cover the gaps at the top. Once filled, excess sand should be removed from the face of the blocks before application, following the sealer manufacturer's guidance.
Joint condition is a useful checkpoint. If large gaps remain, the sand disappears unusually quickly or blocks move underfoot, the driveway may need repair rather than another layer of product. Sealing over poor joints can make the underlying problem harder to assess later.
Choose the finish, not just the label
Driveway sealers are often described by their finish and performance. Penetrating sealers are designed to soak into a suitable porous surface and can retain a more natural appearance. Film-forming or surface sealers create a more noticeable layer and may offer a colour-enhancing, satin or gloss effect. Joint-stabilising products are often considered for block paving after re-sanding.
The best choice is rarely the shiniest option. A high-gloss finish can make colour look richer, but it may also highlight application marks, old stains, patched repairs and uneven wear. On a heavily used drive, a natural or low-sheen appearance can be the more practical choice.
Before choosing, consider four things:
- the paving material and whether it is porous;
- the condition of existing coatings or old sealer;
- the desired appearance in dry and wet weather; and
- whether the product is rated for vehicle traffic and external use.
Always follow the product data and test a small, inconspicuous area where practical. Colour change and absorption can differ across the same driveway, particularly where replacement blocks, repairs or old stains are present.