
Table of Contents
- Why Bird Droppings Damage Render So Quickly
- What You'll Need Before You Start
- Step 1: Soak the Droppings Before You Touch Them
- Step 2: Choosing a Safe Cleaner for Render
- Step 3: Lift the Deposit Without Scrubbing the Surface
- Step 4: Rinse and Check for Residue
- Why Soft Washing Render Beats Pressure Washing
- White Marks on Render After Cleaning: Causes and Fixes
- How to Clean Render in Damp Weather
- When to Call a Professional
- Frequently Asked Questions
Last Updated: October 17, 2026
Why Bird Droppings Damage Render So Quickly
Bird droppings are acidic, and render is porous. That combination is why staining happens fast. A fresh deposit can start etching into the surface within days, and once the acid has worked its way into the pores, a simple rinse will not shift the mark.
This guide from Refresh Revive Exterior Cleaning explains how to safely remove bird droppings from render without staining, using the same low-pressure, treatment-led approach we apply across Bolton and the wider North West.
Here is the key point most guides miss: the damage is rarely caused by the dropping itself. It is caused by what people do next.
- Scraping with a trowel lifts the paint or top coat
- Hosing at full pressure drives residue deeper into the render
- Bleach-based sprays burn the surface and leave pale patches
- Waiting a week turns a two-minute job into a permanent shadow
Render comes in several forms, including silicone, acrylic, monocouche and traditional sand and cement. Each behaves differently. Silicone and acrylic render are thin coatings over a base, so they mark easily and punish harsh scrubbing. Monocouche is tougher but still porous.
The good news is that bird droppings sit mostly on the surface. Remove them correctly and early, and the render underneath stays intact.
What You'll Need Before You Start
Gather everything first, so you are not leaving a wet, half-cleaned patch while you hunt for a bucket. Here is a practical kit list for a typical domestic job in Bolton or nearby:
- Garden spray bottle or pump sprayer filled with clean water
- Soft car-washing brush or a soft hand brush
- Two buckets, one for clean water and one for rinse water
- pH-neutral or mildly alkaline render cleaner
- Stepladder, stable and on firm ground
- Rubber gloves and eye protection
- Old towels or sheeting to protect plants and paving below
- A hose with a gentle spray setting
A few notes on safety. Work from the ground wherever possible. If you need a ladder, keep three points of contact and never overreach. Avoid working above doors, windows or newly planted borders without covering them first.
Check the weather too. A dry, overcast day is ideal. Strong sun dries the cleaner before it works, and rain washes it away too soon.
Step 1: Soak the Droppings Before You Touch Them
Soaking is the single most important step, and it is the one most people skip. Dry bird droppings are gritty. Drag a brush across them and the grit acts like sandpaper on the render.
Spray the deposit with clean water and leave it for five to ten minutes. You want the dropping to soften and swell, not dissolve. A second misting helps on older, hardened deposits.
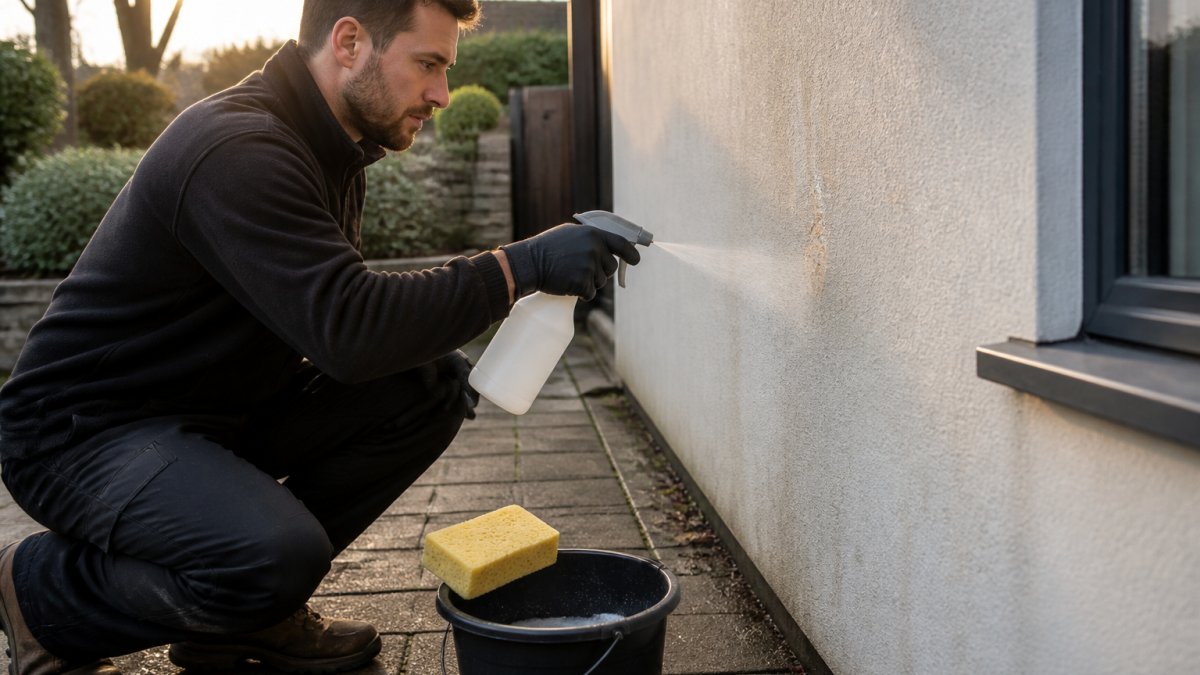
While it soaks, protect the area below. Droppings carry bacteria, so anything they touch should be rinsed afterwards. Keep pets and children away from the working area until you have finished.
Once softened, test a small edge with your soft brush. If the deposit lifts without resistance, you are ready for the next step. If it still feels crusty, soak again. Patience here saves the render.
Step 2: Choosing a Safe Cleaner for Render
A safe cleaner for render is one that lifts organic residue without attacking the binder in the coating. That means pH-neutral or mildly alkaline products, never strong acid or heavy bleach.
Here is how the common options compare:
| Cleaner type | Safe on render? | Best for | Watch out for |
|---|---|---|---|
| Clean water | Yes | Fresh droppings | Little effect on dried stains |
| pH-neutral wash | Yes | Regular maintenance | Needs dwell time |
| Mild alkaline cleaner | Yes, with care | Greasy or heavy deposits | Rinse thoroughly |
| Biological enzyme cleaner | Yes | Recurring bird mess | Slower acting |
| Bleach or acid | No | Nothing on render | Etching and colour loss |
Mix your chosen cleaner to the maker's instructions. Stronger is not better. A weak solution left to dwell for a few minutes works better than a harsh one applied and rinsed straight off.
Always test on a hidden patch first, such as behind a drainpipe. Leave it for a full day and check for colour change. Silicone and acrylic renders are the most sensitive.
Step 3: Lift the Deposit Without Scrubbing the Surface
Lifting, not scrubbing, is the whole technique. Work the soft brush in light, circular strokes with almost no pressure. Let the bristles and the water do the work.
Start at the edge of the deposit and work inwards. This stops you spreading the mess across clean render. Rinse the brush in your clean bucket often, so you are not painting residue back on.
For stubborn patches, hold a soaked cloth against the mark for a minute, then wipe gently. Repeat rather than press harder. If a mark will not shift after three gentle attempts, stop and treat it as a stain rather than a deposit.
Never scrub in one spot for a long time. Render coatings wear through in small patches, and a worn patch shows up as a lighter or darker area once dry.
Work top to bottom on walls. That way, dirty water runs over areas you have already cleaned rather than fresh ones.
Step 4: Rinse and Check for Residue
Rinse with clean water from the top down, using a gentle spray. You are flushing loosened dirt and cleaner residue out of the pores, not blasting the surface.
Residue matters more than people think. Leftover cleaner attracts dirt and can dry into a film that looks like a new stain. Rinse until the water runs clear.
Let the render dry fully, then check in daylight from a few steps back. Look for:
- Faint shadows where droppings sat longest
- Pale patches from over-strong cleaner
- Lighter streaks from uneven rinsing
- Any remaining grit in the texture
Small shadows often fade over a week or two as the surface weathers. Pale patches from cleaner damage will not fade and need a different fix, covered below.
Why Soft Washing Render Beats Pressure Washing
Soft washing render is the controlled use of low pressure, a suitable cleaning solution and dwell time to clean a surface. Pressure washing is high-pressure water alone. On render, the difference decides whether the surface survives.
High pressure forces water into the render's pores. Trapped moisture then feeds algae and frost damage, and the jet can strip the coating outright. We have seen this on plenty of walls where a borrowed pressure washer did more harm than the birds ever did.
Our White Glove Standard™ approach uses low pressure with surface-specific solutions. It cleans the organic growth and the residue without driving either deeper into the wall.
Pressure washing still has its place, on block paving, concrete and patios. Render is simply not the surface for it.