
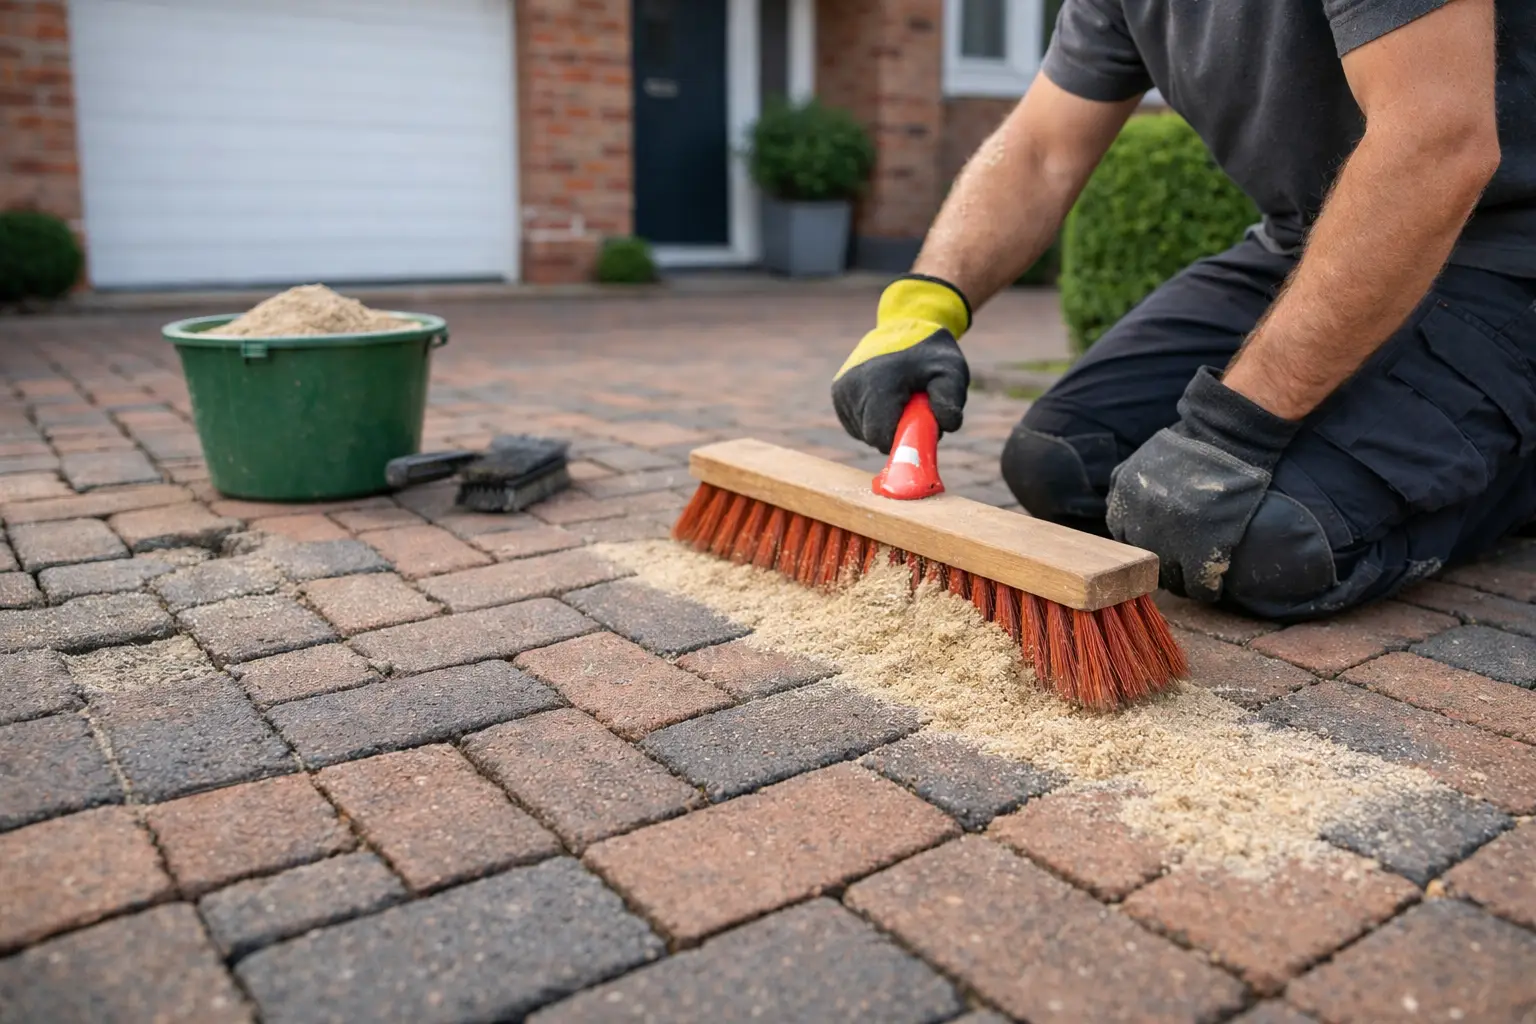
The sand between block-paving units is not merely there to make a driveway look finished. It helps the blocks work together under the weight of cars, foot traffic and changing weather. Driveway re-sanding is therefore an important part of restoring block paving after cleaning, particularly where jointing sand has washed away, become sparse or been disturbed by weed growth.
For homeowners, landlords and property managers, the right time to re-sand is usually after the paving has been properly cleaned and allowed to dry. It is not a cure for every driveway problem, however. If blocks are loose, sunken or spreading at the edges, those faults need assessing before fresh sand is brushed into the joints.
What driveway re-sanding does for block paving
Block paving is made up of individual units with narrow joints between them. When those joints contain suitable dry jointing sand, the blocks are better supported laterally. This helps reduce movement and gives the surface a neater, more settled appearance.
Over time, rain, surface runoff, traffic, weeds and routine weathering can reduce the level of sand. Pressure washing can also remove loose or failing jointing material, which is why cleaning and re-sanding are often planned as parts of the same restoration process. Leaving joints empty after cleaning can make an otherwise improved driveway look unfinished and may allow debris and seeds to collect more easily.
A correctly planned service is about more than sweeping sand across the surface. The paving needs to be clean enough for the joints to accept new material, dry enough for the sand to travel down properly, and sound enough for re-sanding to be worthwhile.
Signs your driveway may need re-sanding
Sparse joints are not always obvious from the kerbside. Look more closely and you may see that the sand sits well below the top edges of the blocks, or that gaps appear darker because they are holding damp debris. Common signs include:
- joints that look empty or noticeably recessed
- blocks that have begun to move slightly underfoot or under a vehicle
- regular weed growth emerging from the gaps
- sand collecting along driveway edges, drainage channels or adjacent paths
These signs do not automatically mean the whole driveway has failed. In many cases, cleaning followed by driveway re-sanding is a sensible maintenance measure. But movement is different from simple sand loss. If paving has dipped, edge restraints are compromised or the base beneath the blocks has weakened, adding sand alone will not correct the underlying issue.
Why cleaning comes before re-sanding
A driveway with algae, moss, lichen, ingrained dirt or vehicle staining needs the contamination addressed before new jointing sand is introduced. Brushing sand into dirty joints traps material that should have been removed and prevents a consistent finish.
The suitable cleaning method depends on the surface condition and the type of contamination present. Controlled pressure washing can be effective for many block-paving driveways, while lower-pressure treatment may be more appropriate for particular areas or materials. The aim is to clean the paving thoroughly without taking shortcuts that ignore the condition of the surface.
After cleaning, the driveway needs time to dry. Fresh jointing sand is intended to fall into the joints, rather than clump on a damp surface. Applying it too early can lead to an uneven result, with material bridging across gaps instead of filling them. Weather, shade, drainage and the paving itself all influence how quickly a driveway becomes suitable for re-sanding.
The driveway re-sanding process
Once the surface is clean and dry, suitable dry jointing sand is brushed across the paving and worked into the joints. It is important that the sand reaches the full length of the gaps rather than simply covering the top surface. More than one pass may be needed where joints are deep or where the original sand level was particularly low.
The excess is then removed from the face of the blocks, leaving the joints filled to an appropriate level. This is where careful preparation matters. A clean, even finish should complement the restored paving rather than leave piles of sand on the driveway or material in drainage areas.
For larger driveways, unevenly laid surfaces or paving with heavy contamination, the work can require more attention than a straightforward brush-in treatment. A professional assessment should take account of the paving condition, joint widths, drainage, access and whether there are areas that need repair before restoration proceeds.
What re-sanding will not fix
Fresh sand can improve joint stability and appearance, but it is not a substitute for remedial paving work. A driveway may need repairs first if blocks are rocking significantly, the surface has sunk, the edges have moved outward or water is regularly pooling in one area.