
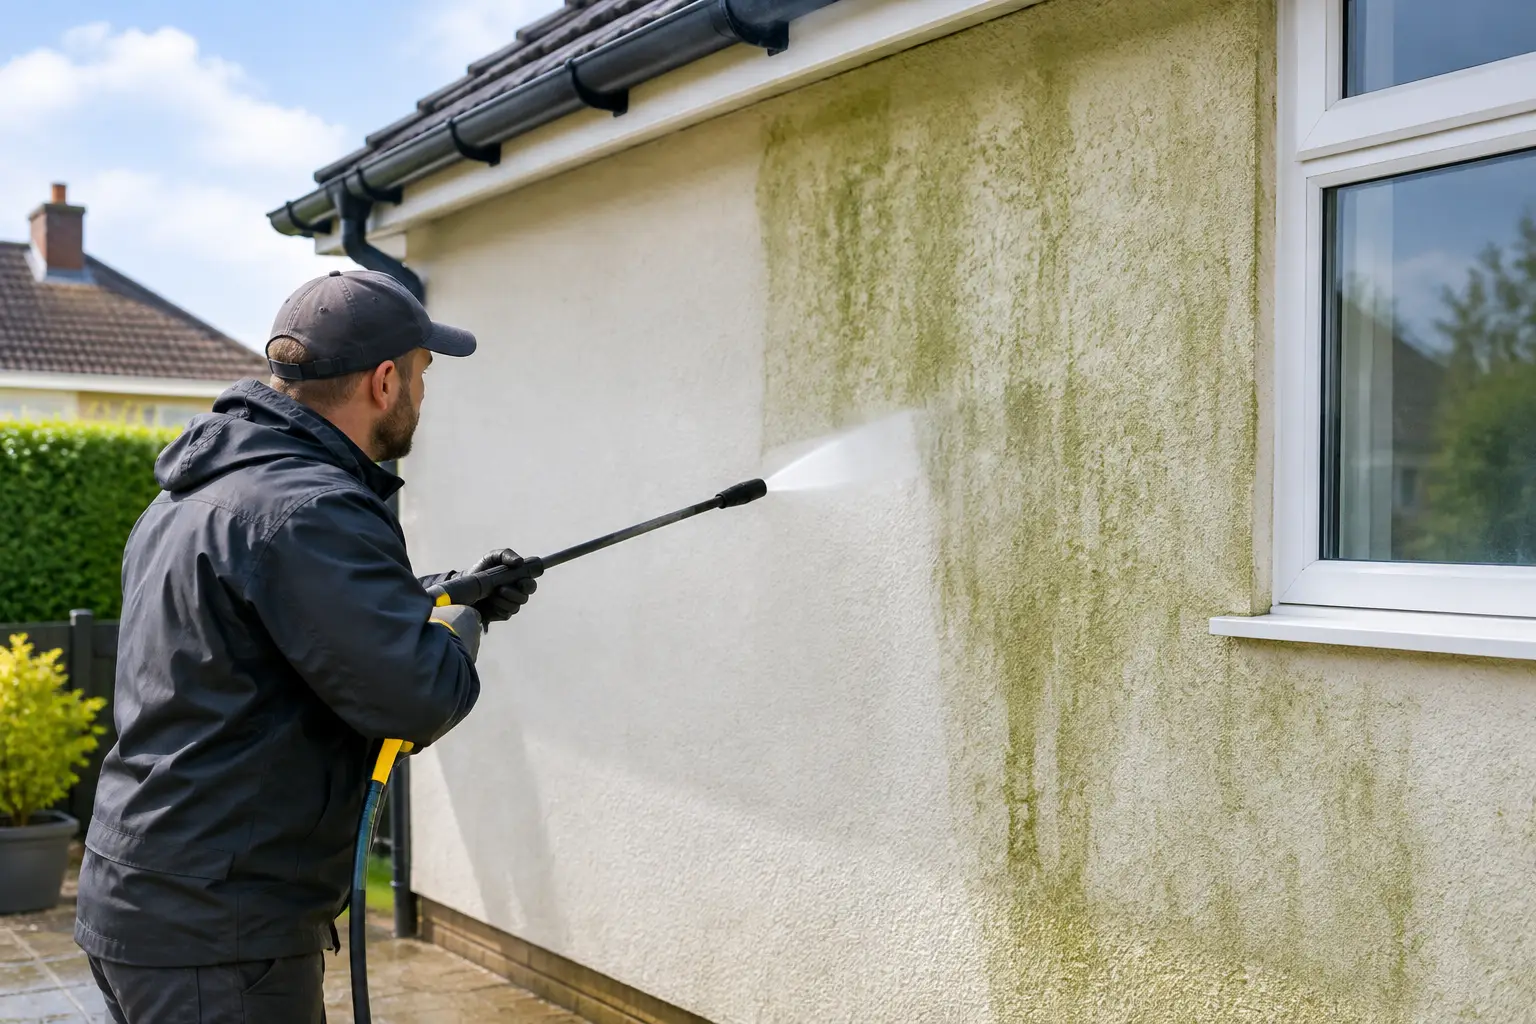
A green film on render is usually algae. It develops where a wall stays damp for long enough for spores to settle and grow, particularly on shaded elevations, beneath overflowing gutters, near trees or where rainwater does not drain away cleanly. The question, “why does render turn green”, is therefore less about the render changing colour and more about moisture, light and surface conditions.
Green staining can make an otherwise well-kept property look tired, but it should not be treated as a purely cosmetic issue. On K Rend, silicone render and other modern coloured render systems, the wrong cleaning approach can leave visible marks, remove surface material or affect the finish. The sensible response is to identify the type of render and the cause of the growth before choosing a cleaning method.
Why does render turn green on one wall first?
Algae needs moisture, and the greenest wall is often the one that receives the least direct sun. North-facing and east-facing elevations commonly dry more slowly after rainfall. Narrow gaps between properties, overhanging roofs, mature planting and boundary walls can all reduce airflow and daylight, allowing dampness to linger.
Water management matters too. A blocked gutter, leaking joint, overflowing downpipe or a splashback area at ground level can repeatedly wet the same section of wall. If staining is concentrated in a strip beneath the gutter line, around a rainwater pipe or close to the base of the building, it is worth investigating the source rather than simply cleaning over it.
Render also has a textured surface. Even a finish that appears smooth from a distance has small pores and contours where airborne spores, dust and moisture can collect. This does not mean the render is defective. It means the surface is exposed to the same weathering process as patios, roofs and other exterior materials.
Green algae is not always the only cause
Most green discolouration is algae, but exterior walls can carry several types of contamination at once. Dark patches may be mould-like biological growth, atmospheric dirt or damp staining. Lichen can appear as pale grey-green, crusty spots that adhere more firmly to the surface. Moss is less common on vertical render but may establish in persistently wet, sheltered areas.
The distinction matters because aggressive removal is not automatically the best answer. A thick, established growth may need a different treatment and a more careful application process than a light green film. A professional assessment should also consider whether the wall has cracked render, failed sealant, damaged pointing nearby or ongoing water ingress. Cleaning improves appearance, but it does not repair a drainage or maintenance fault.
Why pressure washing is not usually the first choice for render
It can be tempting to use a domestic pressure washer when green staining appears. On hard paving, controlled pressure washing may be appropriate. Render is different. The finish can be more delicate than concrete or block paving, and a narrow, high-pressure jet can create uneven patches, score the surface or force water into vulnerable areas.
K Rend and silicone render should be assessed especially carefully. These finishes are valued for their appearance and weather-resistant properties, but they are not a single, one-size-fits-all surface. Age, condition, previous repairs, texture and the extent of contamination all influence the suitable approach.
For many rendered walls, a low-pressure treatment is the more appropriate option. This approach is designed to treat organic growth without relying on force to strip it away. The treatment needs to be selected and applied with care, then allowed to work as intended. Some residue may release during the process, while heavier or long-standing staining can require a measured follow-up clean.
A clean wall should look consistently refreshed, not blasted into a patchwork of lighter and darker areas. That is why a method chosen for the surface is more valuable than simply using the highest available pressure.
The right way to clean green render
A proper render-cleaning plan begins with inspection. The cleaning contractor should establish the render type where possible, look for damaged areas and assess where moisture is coming from. Nearby windows, doors, vents, planting and paved areas also need consideration before any treatment is used.
For light algae, low-pressure cleaning and an appropriate treatment may be enough to restore the wall’s appearance. Heavier biological growth may call for more preparation and controlled rinsing. The aim is to remove or treat contamination while respecting the render’s finish, rather than chasing an instant result at the expense of the surface.
The weather can affect the process. Rain, temperature and how quickly the wall dries all influence treatment performance and practical scheduling. A wall that looks green again quickly after cleaning may be receiving continued moisture from a gutter fault, dense planting or poor drainage. In that case, cleaning and maintenance need to work together.